
Almond shofar cookies
Tender Almond Paste Pastries for Rosh Hashanah
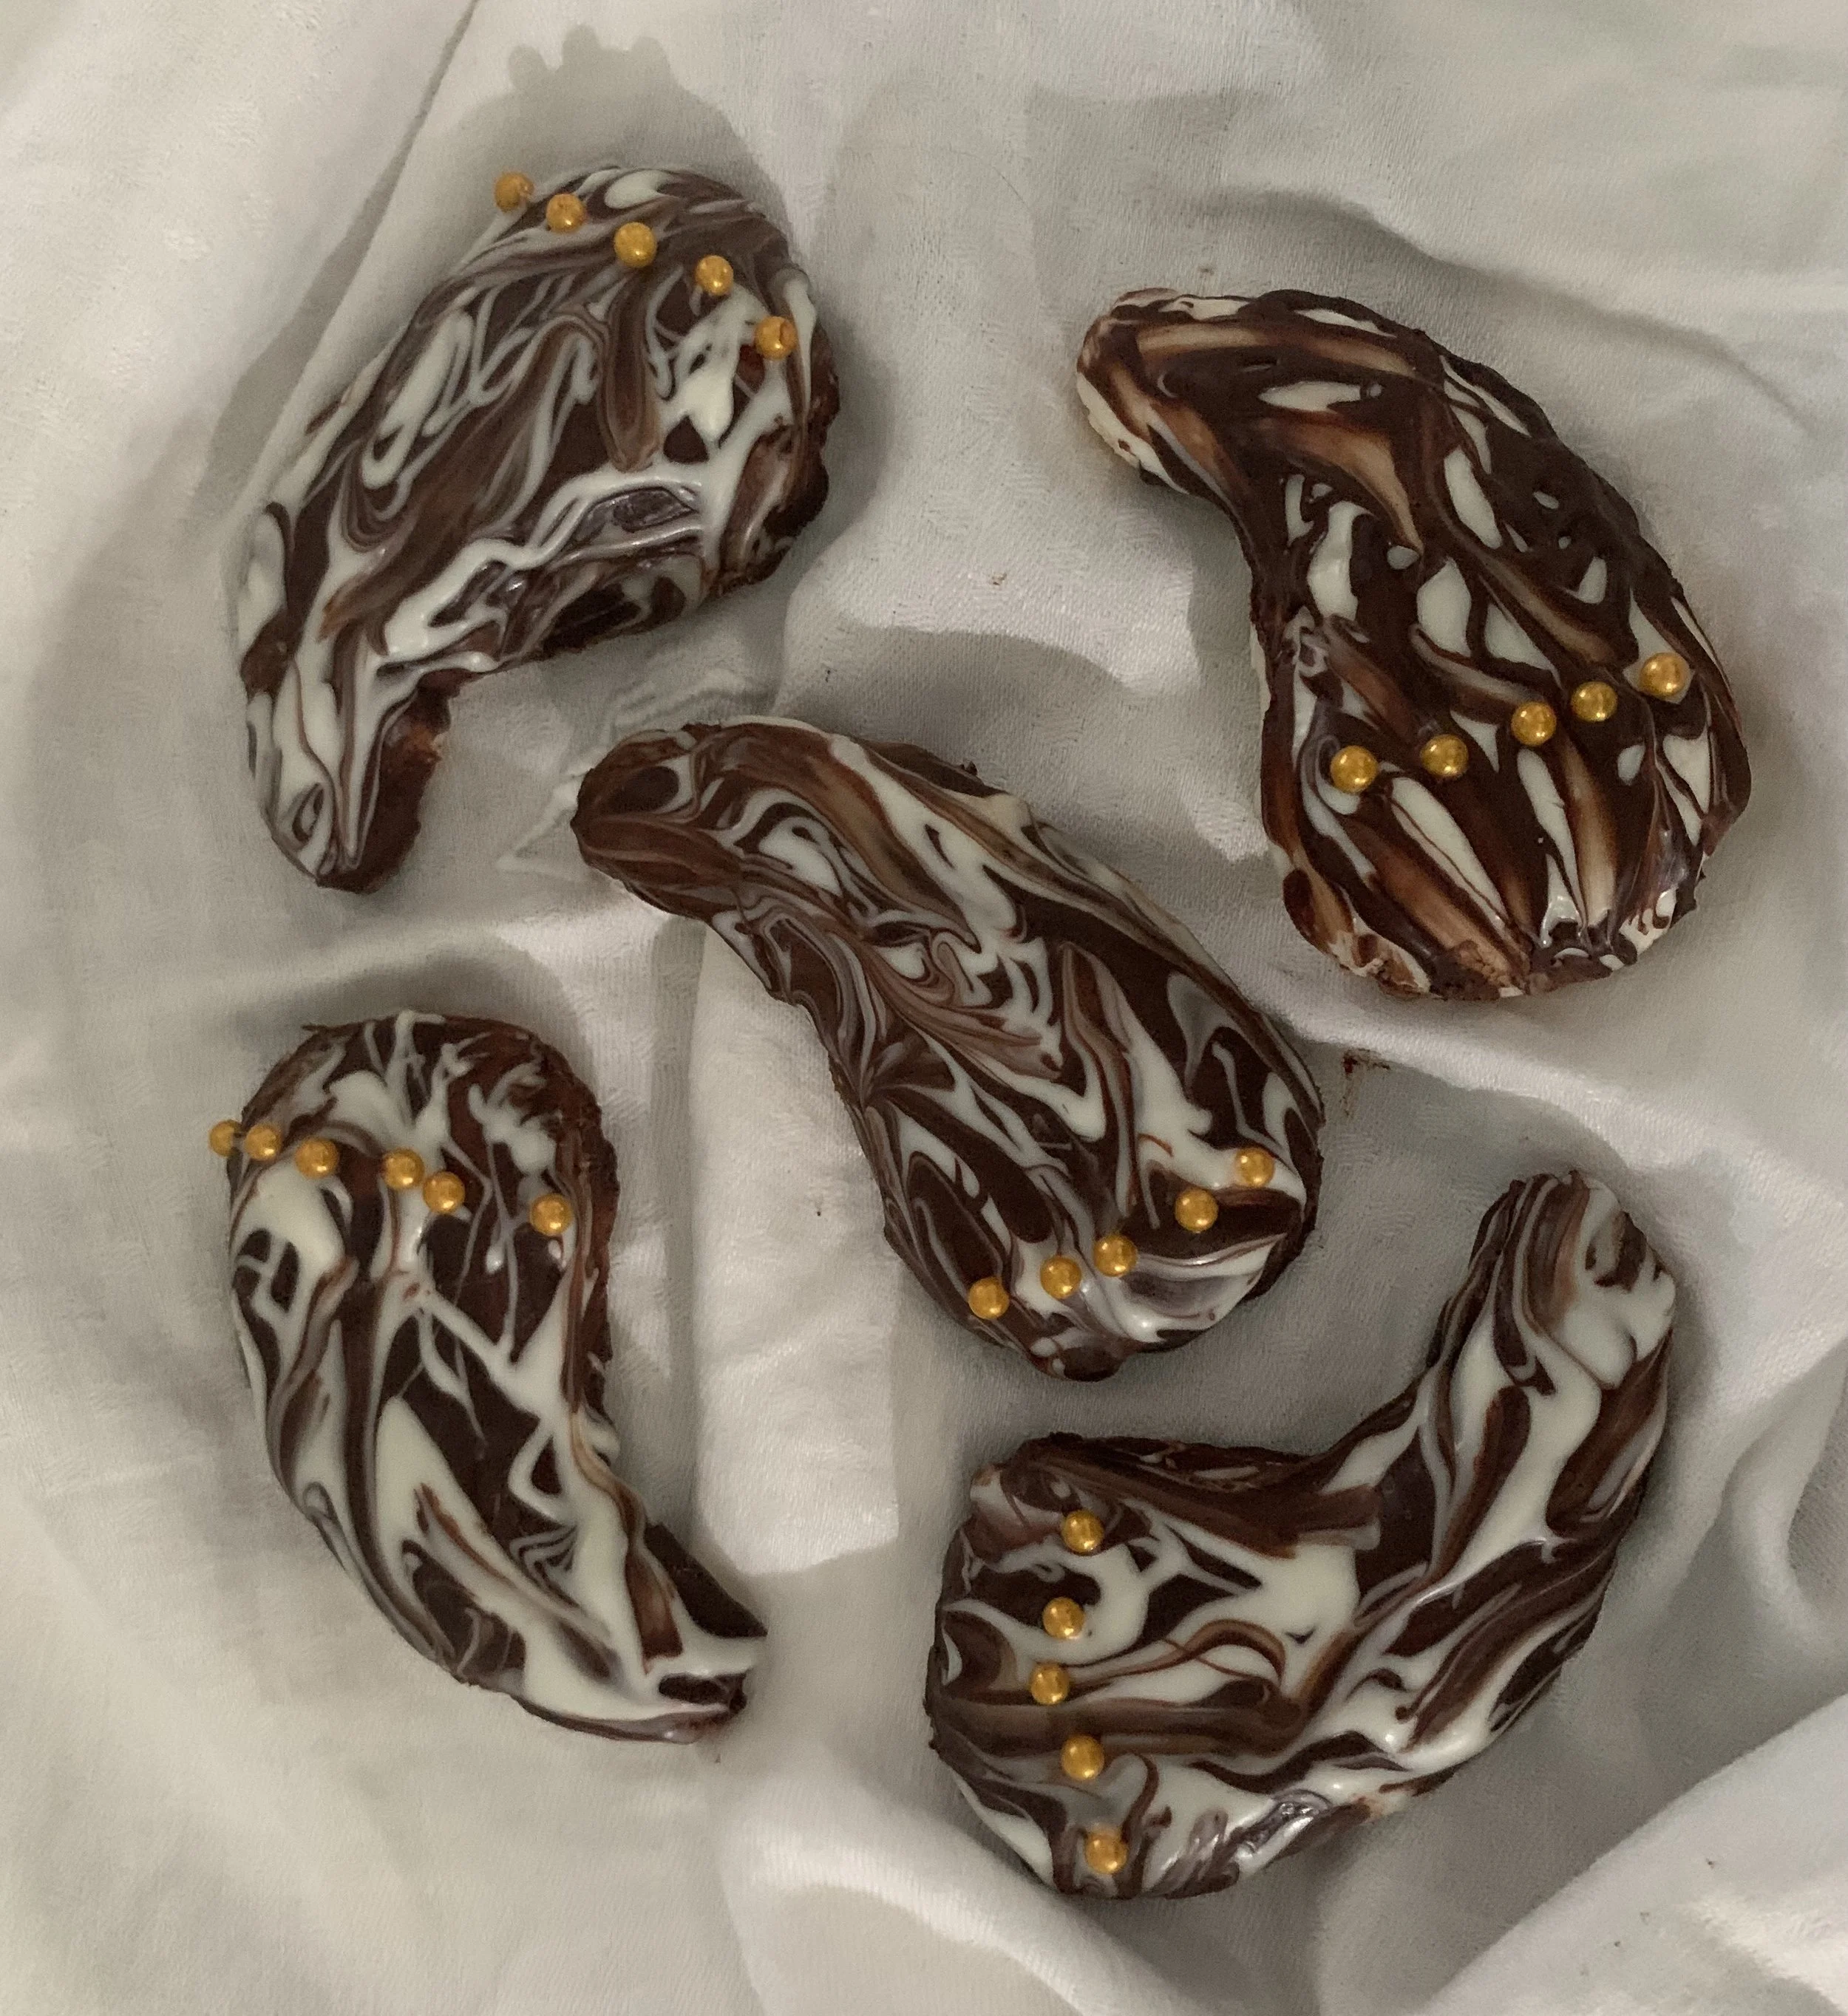
Almond Shofar Cookies
I could wax poetic over Rosh Hashanah desserts… Taiglach, Honey Cake, and these etherial Almond Shofar Cookies…
This recipe is based on the almond horns that one finds in a Jewish Bakery any time of the year…well, any time other than Passover…
Shaped like shofars for Rosh Hashanah, these are soft and pillow-y. They’re mostly almond paste, with just a bit of flour and egg white. The marbled chocolate on top is there to make them look like they’re made of ram’s horn, and because I like chocolate. If chocolate's not your thing, feel free to leave it off. You can substitute white chocolate, or even an icing made from confectioner’s sugar thinned with enough water to make it spreadable.
Unlike their parent pastries, these are small enough to eat in a few bites. If we made them bigger, we wouldn’t have room to try any of other desserts on the table! Covered, they stay delicious for a week.
I usually double the recipe, as 1 dozen aren’t nearly enough to make sure I have some for myself when everyone leaves.
Ingredients:
for the pastries
8 ounces almond paste (1 box of Solo brand)
3/4 cup confectioners' sugar, plus more for dusting your hands
1 large egg white
½ teaspoon almond extract
2 tablespoons all-purpose flour (a bit more if the dough is too sticky)
for decorating
approximately 6 ounces fair trade dark or semi-sweet chocolate (chips, or in bar form if you’re experienced at keeping chocolate in temper.
approximately 3 ounces white candy melts.
dragées or other embellishment
Method:
Preheat the oven to 350°.
Line a baking sheet with parchment or a silpat
Break up the almond paste into bits and drop them into a food processor with the powdered sugar. Process until the mixture is uniform and the texture is that of fine crumbs.
Add the egg white and the extract, and process to combine.
Add the flour and process until the dough becomes a smooth paste. Then, turn it out onto a sheet of parchment on your work surface. The dough will be a bit sticky. Dust your hands with confectioner’s sugar to keep it from sticking to your fingers. You may need to redo this several times. Egg whites vary in size. If the dough is so sticky that you can’t work with it, even with sugared hands, sprinkle a little more flour over the top and knead it in. The dough is very forgiving.
Form the dough into a log shape, 12” long, and then cut it into twelve 1-inch pieces. Roll each piece in your hands to form a rope that is thick at one end and tapered at the other.
Gently transfer the horns to your lined baking sheets, being mindful that they will puff and spread a little. As you place them down, carefully bend them to form a shofar shape and then gently press down on each one, to flatten it a little bit.
Bake the shofars for about 12 minutes, or until the color just begins to turn. Remove the pan from the oven and place it on a cooling rack to allow the air to circulate. Allow them to cool on the pans for at least 5 minutes, then slide them off the pan, still on the parchment, onto a rack to cool completely. Don’t try to move them until they cool, or they may fall apart.
To Decorate:
The easiest way to decorate your shofar cookies is to use melted chocolate chips. If you melt regular chocolate, you risk your chocolate drying with white streaks, which can happen if your chocolate isn’t properly tempered. This takes a chocolate thermometer and a bit of practice. Chocolate chips contain lecithin, which makes them more stable. Just pour some chips in a bowl and microwave it for one minute. It may look like nothing has happened, as they may retain their shape when microwaved, but once you give it a stir you will see that they’re melted, or mostly melted. You can continue to heat it for ten seconds at a time until you reach the right consistency, but take it slowly because if the chocolate burns it will be useless.
Once your chocolate is melted, you have choices. Coat the whole thing in chocolate or do only one end. You can either paint the chocolate on with a clean new wide artist’s paintbrush, or dip the shofars into the chocolate, letting the excess drip off. Then return them to the parchment to dry. (I find the paintbrush method easier to do.)
Using white chocolate is a different story. White chocolate chips don’t melt well. You’re best off using what they call, “candy melts.” Some brands taste terrible. The ones made by Ghiradelli taste very good, and many grocery stores carry them. There are other, premium (fair trade) brands available online. You can also color the white candy melts to achieve any color you like (blue looks Jewish), but…do not try to add regular food colors to white chocolate, as it will instantly seize and become unusable. You must have special, oil based food colors that are made for this purpose. Warning: Once you have a set of those, you might find yourself buying candy molds and making all sorts of fun treats.
My method is to paint the tops of the shofars with melted dark chocolate (using a wide brush), and then to dip a thinner brush into melted white chocolate wafers and marble it over the dark chocolate to create a ram’s horn effect. You want to let the dark chocolate thicken a bit before marbling on the white, or the white might disappear into the dark. But don’t let it dry too much or you won’t be able to marble it. I drag the white chocolate over the dark with a thin brush to create the marble effect. It’s not difficult. After one or two you will probably get a feel for it.
While the chocolate is still melted, you can stick on silver or gold dragées, or anything else that you’d like to use. Have fun! I’d love to see pictures of your great decorating ideas.