
Golden Shabbat Challah
IT’S ALL ABOUT THE CHALLAH
Fluffy, egg-rich, sweet, and scrumptious—after years of tweaking I can proudly say that this is the perfect challah recipe to grace your Shabbat table. It’s as beautiful as it is delicious, shiny and richly gold in color. What’s more, it makes the most fabulous French Toast you’ve ever had.
We’re going to bake some fabulous, gorgeous challot and I promise you, your family and friends will be kvelling until next week. I’m also going to show you that challah can be so much more than a loaf of bread. I see challah as a metaphor for everything that’s good in the world. Baking challah can even be a transformative meditation.
Making challah actually changed my life, and, just like friends who can’t wait to show you the photos from their vacation, it’s been such a fabulous trip for me that I can’t wait to share it with you. Challah can be a doorway through which we can step to discover a deeper understanding of ourselves, and of the universe of which we are a part.
iT’S like cake!
Many years ago, we invited a friend, a Presbyterian minister, to Shabbat dinner. After the HaMotzi blessing, she took her first bite of the challah and exclaimed, “It’s like cake!”
We all cracked up and she looked embarrassed. She was concerned that she’d committed some faux pas. “No!” I reassured her. “It’s funny, because that’s a classic comment made by Jews to describe a particularly yummy loaf of challah. Maybe you were Jewish in your last life!” We all had a chuckle after that, and ate more challah.
So here you have it, a totally unbiased opinion that confirms that this is indeed the Perfect Golden Challah.
As I shared with you in my Challah Meditation, I took up baking challah after moving to a tiny town in Northeastern Pennsylvania, where there was no Jewish bakery. Necessity is the mother of invention, as they say.
I followed a recipe in a book on Jewish baking, and as time went by, I tweaked it until I achieved what is, in my opinion, the perfect golden challah.
The meditation came to me some years later, and totally took my challah baking ritual to another level. I’d love for you to check it out.
But, if you’ve chosen to skip the meditation and just want to bake an awesome loaf of bread, here is the unadorned, no fanfare recipe.
Unlike brioche and other egg-enriched European breads that contain butter and/or milk, challah is usually parve (containing neither dairy nor meat) so that it can be served with any meal and conform to the dietary laws of kosher.
This recipe will make one catering hall sized loaf, two very large loaves, three medium loaves (two for your Shabbat table and one to give away), or four respectable sized loaves for small gatherings. (Two for this week, and two to freeze for another week, when you’re too busy to bake.)
golden shabbat challah
Ingredients:
2 tablespoons active dry yeast
1 ½ cups water
2/3 cup + a pinch Granulated Sugar
1/3 cup cold-pressed neutral fruit or nut oil (grape seed, sunflower, avocado, etc.)
4 large eggs (divided use), + 2 yolks (save the leftover whites for, perhaps, a nice meringue pie)
2 ¾ teaspoons Kosher salt
¾ teaspoon turmeric (optional)
6 – 7 cups unbleached all-purpose flour. I like King Arthur brand (you may substitute 1 cup of whole wheat flour (or King Arthur white whole wheat) for 1 cup of AP flour)
Optional: seeds of your choosing – sesame, poppy, fennel, pumpkin, sunflower, everything bagel, or any combination thereof.
Method:
Spoon the yeast into a medium sized mixing bowl.
Add a pinch of sugar.
Warm the water to 90˚ - 110˚ (Water should feel neutral or slightly warm to the touch), and gently pour it over the yeast. Stir to dissolve the yeast, and allow it to rest for 5 - 10 minutes until the yeast has “bloomed” and little bubbles are forming.
Add in this order:
The remaining sugar, the oil, 3 of the eggs plus the 2 yolks, 2 cups of flour, the salt, and the turmeric.
The use of turmeric is optional, but it gives the bread a lovely golden color and it has anti-inflammatory benefits, as well.
Stir the mixture until it is loosely combined, then add 4 cups more of flour, and stir until you’ve achieved a “shaggy mass.” (It should look like the pile of hair on your sofa, where a sheepdog has had a nap.)
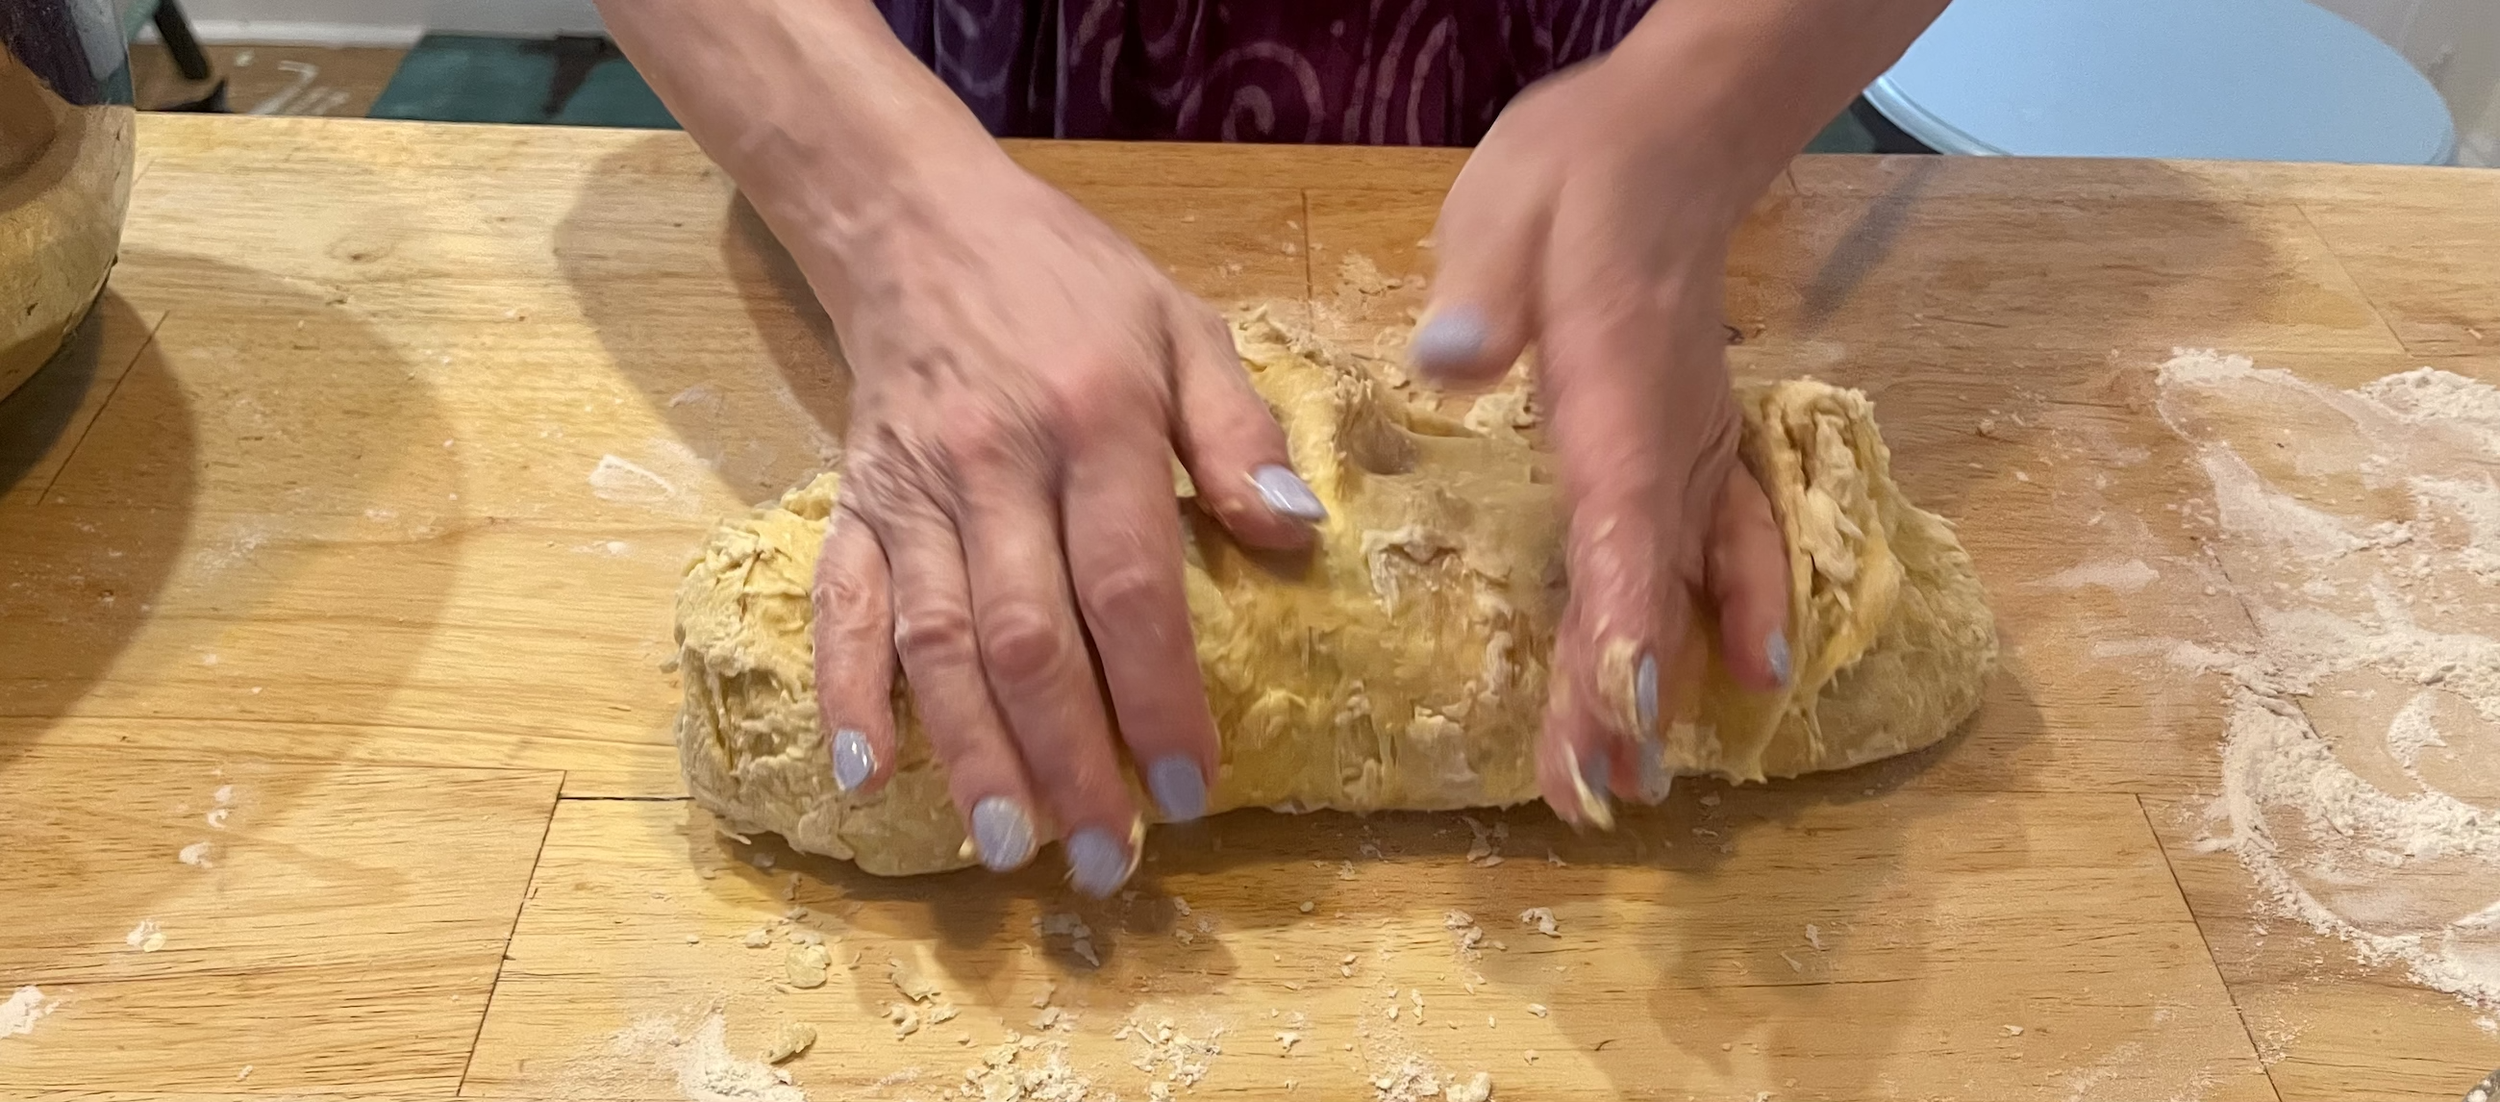
Lightly flour your work surface and turn your dough out from the bowl, scraping out as much as possible. Flour your hands and begin to knead. As you go along, sprinkle on more flour, a little at a time, to prevent the dough from sticking to your hands. You want to keep the dough easy to work – not too dry, but not sticky either. Depending upon many factors, such as the weather, the percentage of protein in your flour, or even the way it’s been stored, you may need to add anywhere from ½ to 1 cup more. Adding more than that can make your bread dry. Continue kneading for about 8—10 minutes, or until you have a smooth, silky, elastic dough. Gently coax the dough into a ball.
Pour a small glop of oil into a large, clean mixing bowl and swirl it around so that the entire inside surface of the bowl has a thin coating of oil. Place your dough ball into the bowl and roll it all around so that the entire ball is covered with a fine film of oil. Then, cover the bowl with a damp tea towel and allow it to rise in a warm, draft-free space for 90 minutes, or until it is about 2 ½ times its original size.
Gently punch down the dough and turn it out onto a floured work surface.
Divide the dough as necessary to form the number of loaves you are planning to make. For a detailed tutorial on creating six-strand braided challot, click here.
Once all of your challot are woven, place them on a baking sheet, or two baking sheets, (I love these purple ones!) that have been lined with either parchment paper or a silicon mat. Set the pans in your oven (which is off!) to rise again, for 40 minutes.
When the timer dings, place your pan(s) on the counter.
Preheat your oven to 350˚. If you have one pan, set a rack in the middle of the oven. If you have two pans, set them so that each pan will have room for the breads to rise between and above them.
Crack the last whole egg into a small dish and add a teen-tiny splash of water, and beat it up with a fork or a whisk.
Using a pastry brush (I’ll bet you’re not surprised that I use these!), gently paint the entire surface of your challot with the egg mixture, getting it into all the nooks and crannies in the braid. If you’re not using seeds, you’re ready to bake.
If you are using seeds, sprinkle them on the loaves now, as soon as you’ve painted them. Leave them to dry for 10 minutes. Then, paint the loaves with the egg wash again.
When you are finished painting your loaves, set the little bowl with the leftover egg wash on the floor, for the cats.
Once the oven reaches temperature, slide in the pans. Set a timer for 15 minutes. When the timer dings, if you have one pan, turn it around 180 degrees. If you have two pans, switch the one from the top rack with the one from the bottom rack, and, turn them both around 180 degrees. Try to work quickly so that the oven doesn’t lose too much heat.
Close the oven door and bake for another 15 minutes.
Challah is done when the crust has a lovely golden-brown color and sounds hollow when you tap it on the bottom. In my experience, that means 30 minutes at 350˚.
Your oven may differ, so keep an eye on them. If they seem to be browning too fast before the inside is baked through, cover them with foil and remember to lower your oven temperature by 25° next time. If they’re taking a little longer than you expect them to, raise your oven temperature by 25° and continue to monitor them.
When you remove your challah from the oven, place the pan(s) on a cooling rack and let them rest for about 10 minutes. By the way, these are my favorite—they’re not purple, but they’re sturdy, they stack, and they’re very pretty. Then, remove the loaves from the pan(s) and place them directly on the cooling rack. They can stay there until you’re ready to bring them to the table, or, if you want to serve them warm, return them to the oven for 3-5 minutes before serving. If you are going to freeze them, allow them to cool completely before wrapping them first in plastic wrap, then in aluminum foil, and then in 2-gallon zip bags.
Did you make it? Was it fabulous?